Path 1: Traditional Thanksgiving on a Budget
You’ve thawed, seasoned, roasted, and rested your turkey. Now it’s time to carve. This guide walks you through the process step by step, helping you serve clean slices with minimal waste and maximum confidence.
Before You Begin
Tools You’ll Need:
- Sharp carving knife
- Meat fork or tongs
- Cutting board (preferably with a groove to catch juices)
- Paper towels or clean kitchen towel for grip
Prep Steps:
- Let the turkey rest for 20–30 minutes after roasting. This keeps juices inside the meat and makes carving easier. (Learn more about the importance of Resting HERE)
- Transfer the turkey to a stable cutting board.
- Remove any string or trussing materials.
Step-by-Step Carving Instructions
1. Remove the Legs
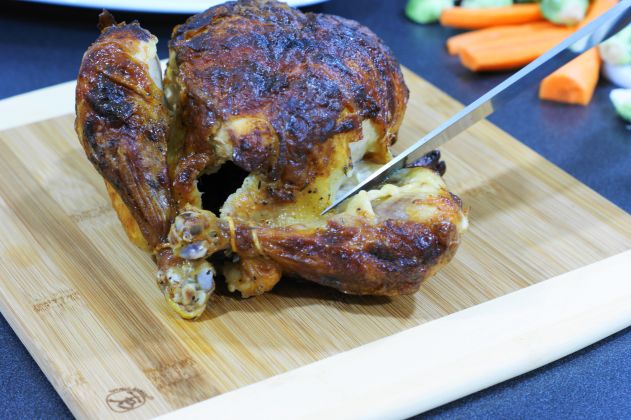
- Hold one drumstick and gently pull away from the body.
- Cut through the skin between the leg and body.
- Bend the leg back until the joint pops, then slice through the joint to remove.
- Repeat on the other side.
2. Separate Thigh from Drumstick
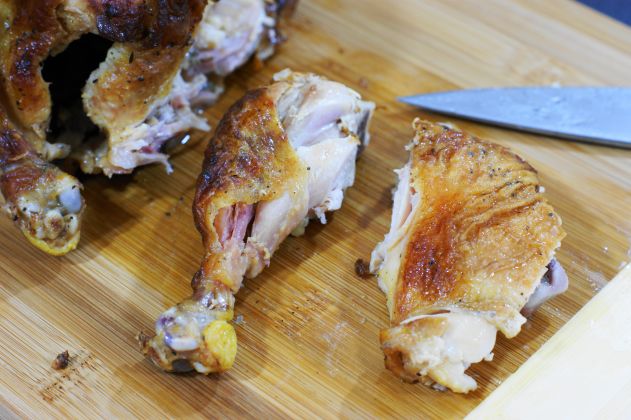
- Place the leg skin-side down.
- Cut through the joint between the drumstick and thigh.
- Serve whole or slice meat from each piece.
3. Remove the Wings
- Pull each wing away from the body.
- Cut through the joint where it meets the breast.
- Wings are often served whole or reserved for stock.
4. Carve the Breast
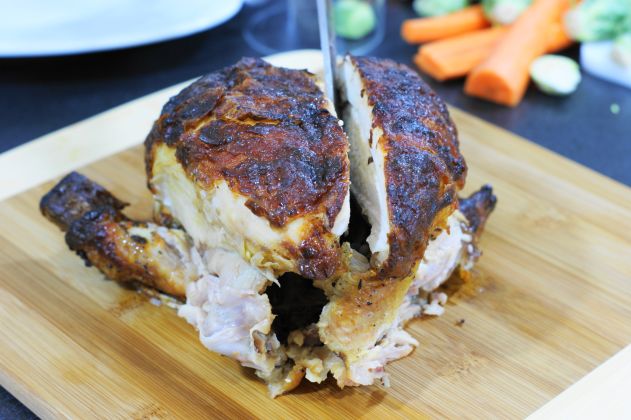
- Make a long vertical cut down one side of the breastbone.
- Slice horizontally under the breast meat to release it from the rib cage.
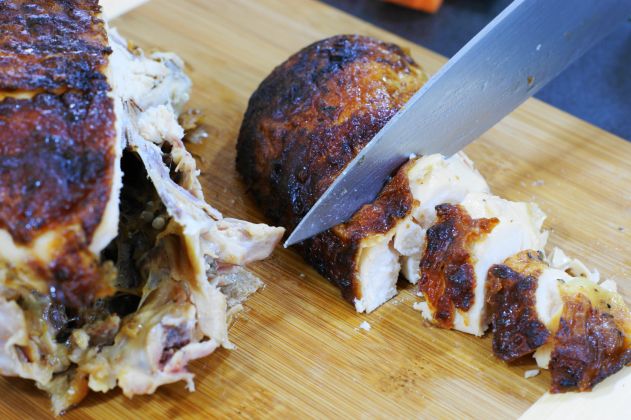
- Remove the entire breast half and place it on the cutting board.
- Slice crosswise into even pieces, cutting against the grain for tenderness.
- Repeat on the other side.
5. Optional: Remove the Wishbone
- If desired, locate the wishbone near the neck cavity.
- Use your fingers or a small knife to loosen and remove it before carving the breast.
Serving Tips
- Arrange slices on a platter with dark and white meat separated.
- Pour a small amount of warm broth or pan drippings over the meat to keep it moist.
- Save bones and scraps for homemade stock or soup.
